Over the past year we have noticed that updating a home’s decor in relation to the changing seasons is becoming more popular - and we’re absolutely here for it! This doesn’t mean that you have to repaint your living room every 3 months either! Simply swapping out homely decorations, such as fireplace garlands or dining table centrepieces, can be enough to create a seasonal aesthetic for your interior.
We’ve found some easy-to-complete crafting ideas for spring, all including materials that can be found in our haberdashery. As well as a fun creative project for yourself, you can also get the kids involved this Easter break!
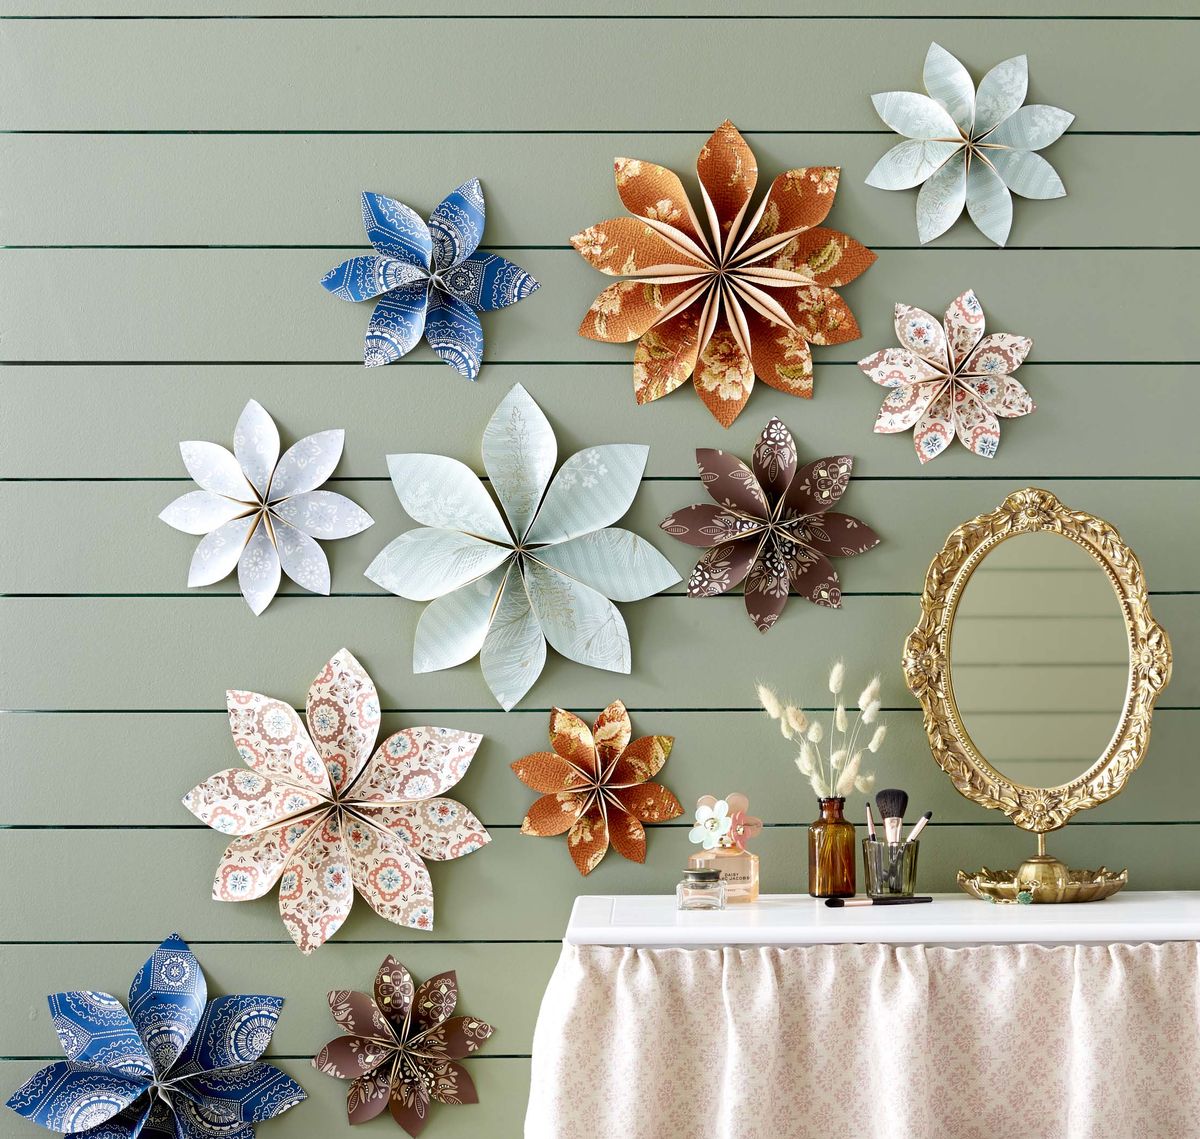
Wallpaper Flowers
This is a great way to use any leftover wallpaper you have hanging around that you thought ‘would come in’ but hasn’t! Alternatively we often have small pieces of wallpaper available in our haberdashery area.
1. Cut out 6 - 10 petal shapes on the backs of wallpaper remnants
2. Pinch together one end of each petal and secure with hot glue gun or strong adhesive
3. Once dry, glue petals together in a circle shape
4. Secure to the wall with push pins
Reference
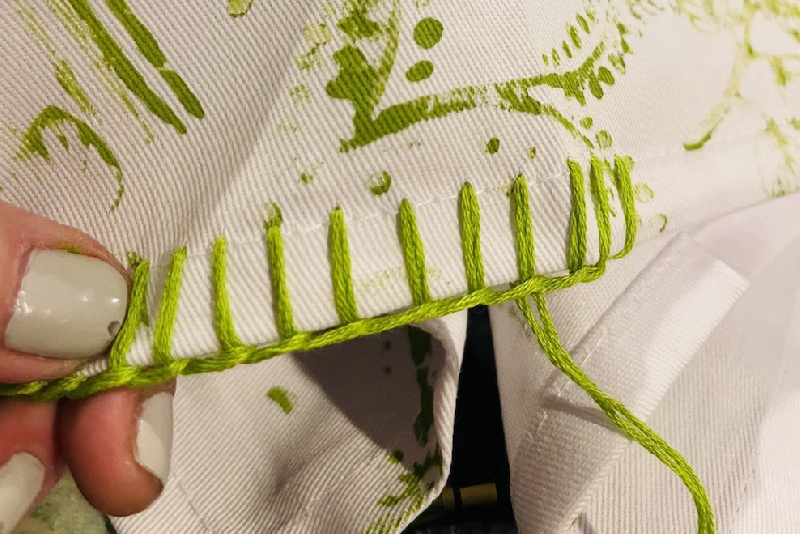
DIY Spring Napkins
Pop these on your table to finish off your spring aesthetic! First choose a remnant material from our haberdashery that you think will fit your theme. Then you will need matching cotton thread, contrasting embroidery thread, a sewing needle and embroidery needle.
- Cut out a rectangular shape from your remnant that is double the size of what you would like your finished napkin to be
- Fold this in half and sew the edges either by hand or using a sewing machine, so that the pattern is on both sides
- Using the embroidery thread and a blanket stitch, finish off the edges of the napkin
- You could also tie some hemp rope around the middle of your napkin for the final presentation!
Reference

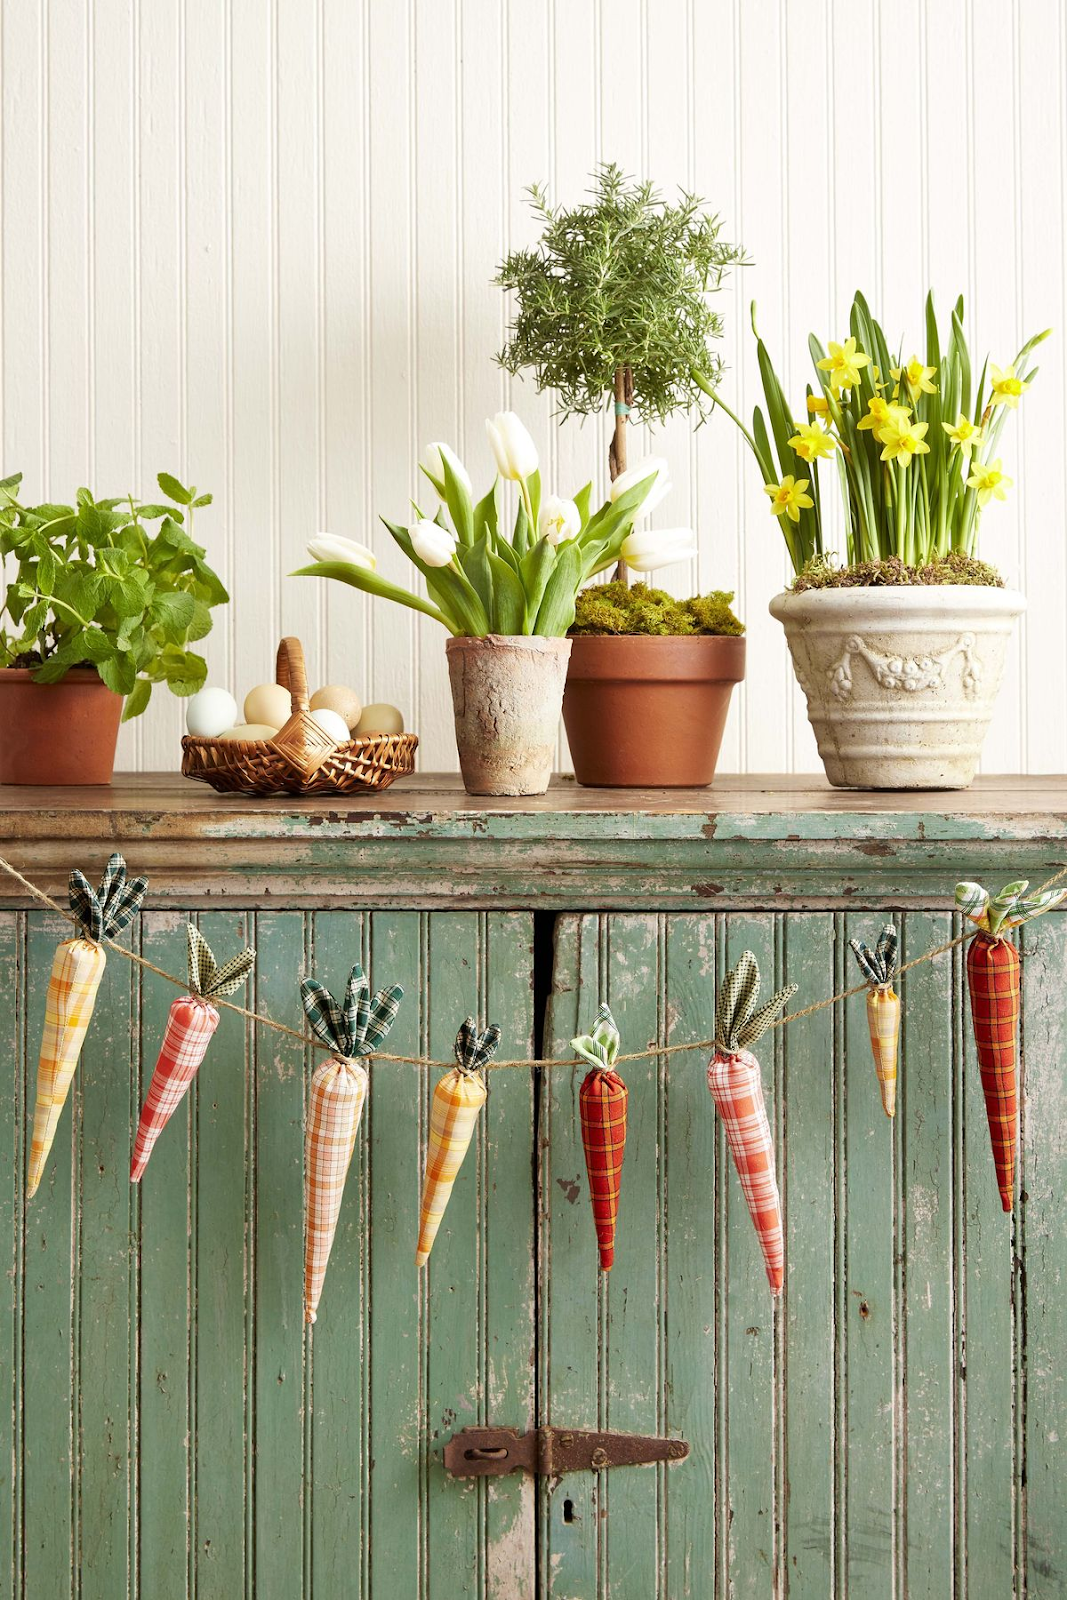
Carrot Garland
For this springtime garland, simply choose some orange, yellow or red material remnants, and some green for the leaves. After that you will just need a sewing needle and thread, some batting and twine.
- Trace carrot body templated onto your fabric and cut out. Fold in half with the patterned side of the fabric facing inwards and sew edges together, leaving the top open. (Click on reference link for templates)
- Turn right side out and stuff with batting
- Do the same with the leaf template onto your green fabric, but leaving the bottom open
- Turn right side out, fill with batting and sew the bottom closed
- Sew a running stitch along the open top end of the carrot body, ¼ inch from the top, leaving a couple of inches of thread hanging out on each end
- Insert the leaves into the opening and pull the thread ends tight so that the top of the body closes around the leaves. Tie the thread together to secure and add any extra stitches to hold the leaves in place if necessary
- Loop the twine around the necks of the carrots with even spaces and hang on mantels, shelves, windows, ect.
Reference
Hanging Eggs
A particularly fun one for kids, these super simple egg decorations are an easy yet effective way to create spring vibes throughout your home!
- Hard boil your eggs, allow them to cool, and decorate in fresh spring colours, such as pastel pinks, baby blues, or bright yellows. (We recommend dipping your eggs in a mixture of water, vinegar and food colouring and glueing on buttons in the shape of flowers!)
- Once dried, use a looped piece of ribbon (either matching or contrasting) and attach it to the top of the egg with a glued on button.
- Hang your finished eggs on some twig like stems, eg. pussy willow
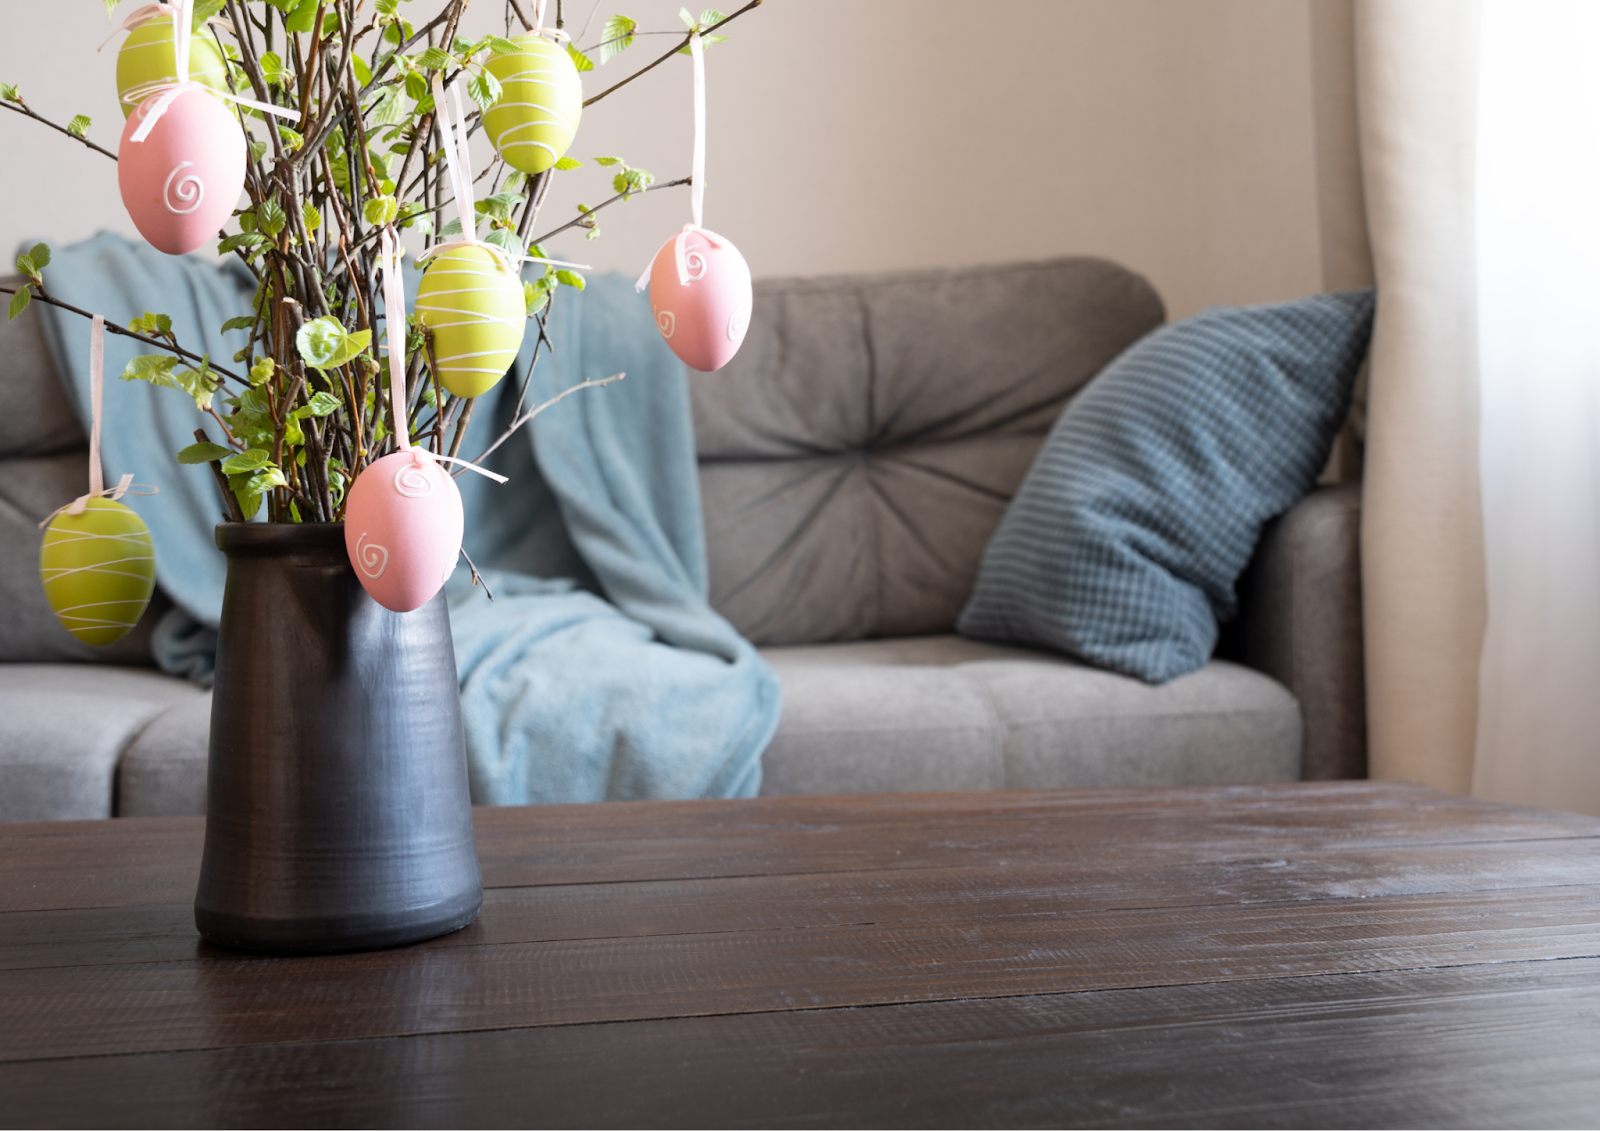
As these eggs will only last a week or so, you can always buy wooden eggs instead for a more permanent decoration that will last throughout spring!
We hope this blog has gotten your creative juices flowing and inspired you to create your own seasonal interior decorations moving forward!
Don’t forget to pop into Milners for any remnant materials, threads, ribbons, buttons and needles, and to send in any pictures of your final projects that our haberdashery has helped to create!